Before you can begin integrating with the Kenjo API, you'll need to obtain an API key. Follow these simple steps to get started:
1. Request API activation
Contact the Kenjo Customer Success team to request API activation for either the sandbox or production environment. You can kickstart this process by clicking here.
2. Access API key generation
Once your API activation request is approved, you can generate a new API Key by following these steps:
- Make sure you have admin privileges in your Kenjo account.
- Log in to your Kenjo account.
- Navigate to Settings (found under the gear icon in the left side menu).
- Select Integrations from the Settings menu.

-
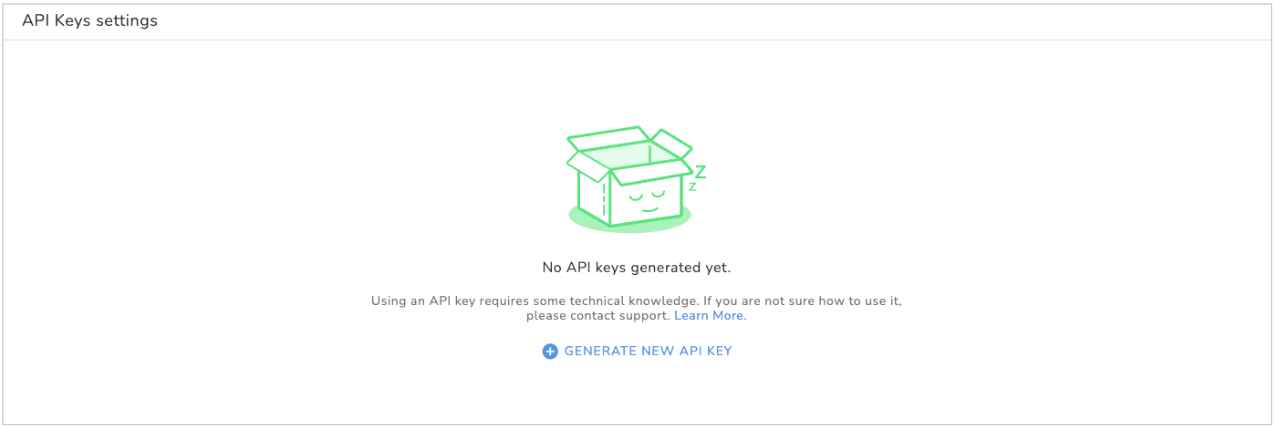
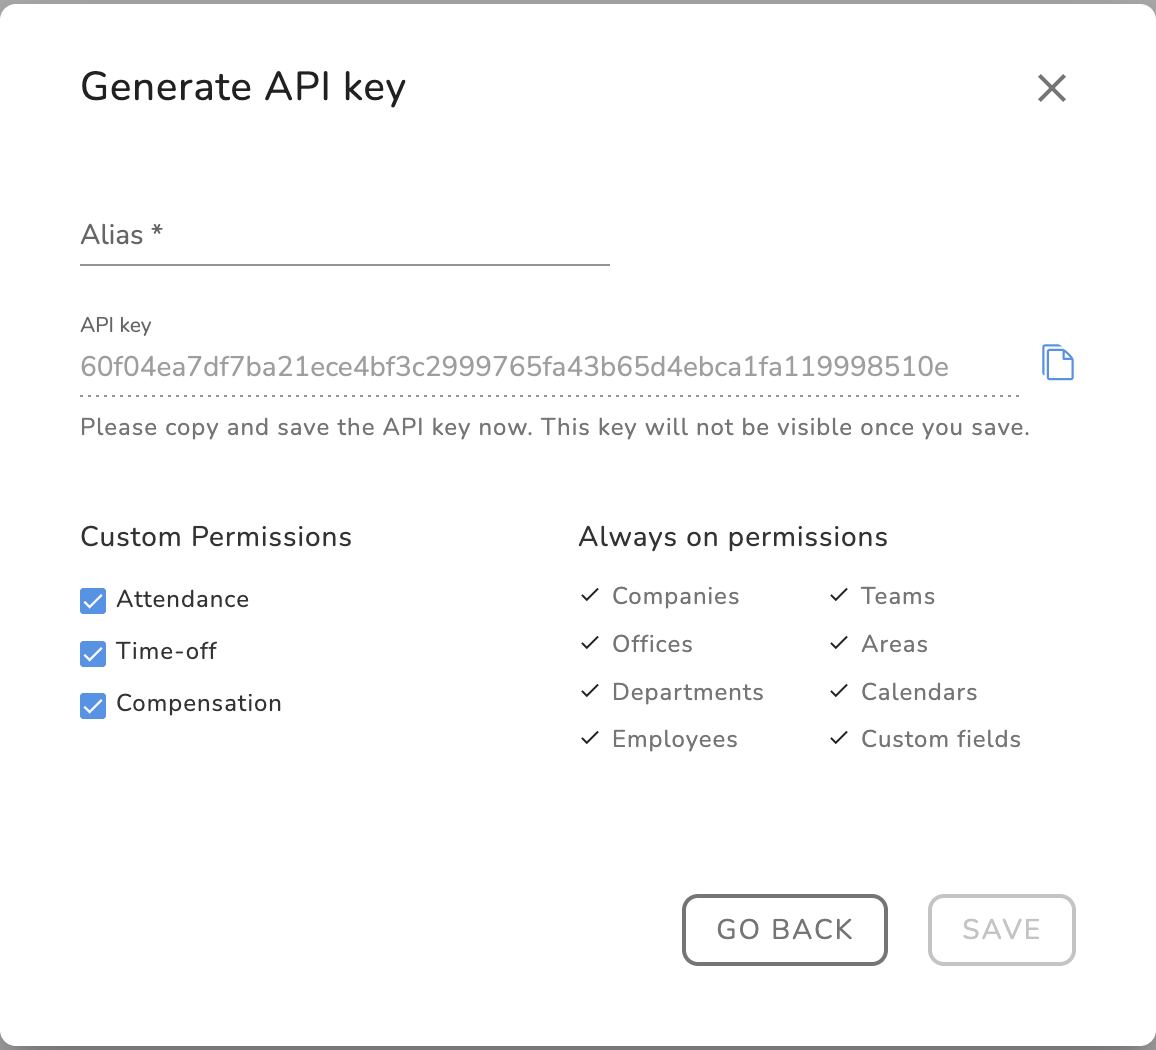
Click on settings, inside the API box, to access the API key management page. To generate your first API key click on GENERATE NEW API KEY. You are able to generate up to 5 keys with different levels of access per organization.


Each API Key Requires:
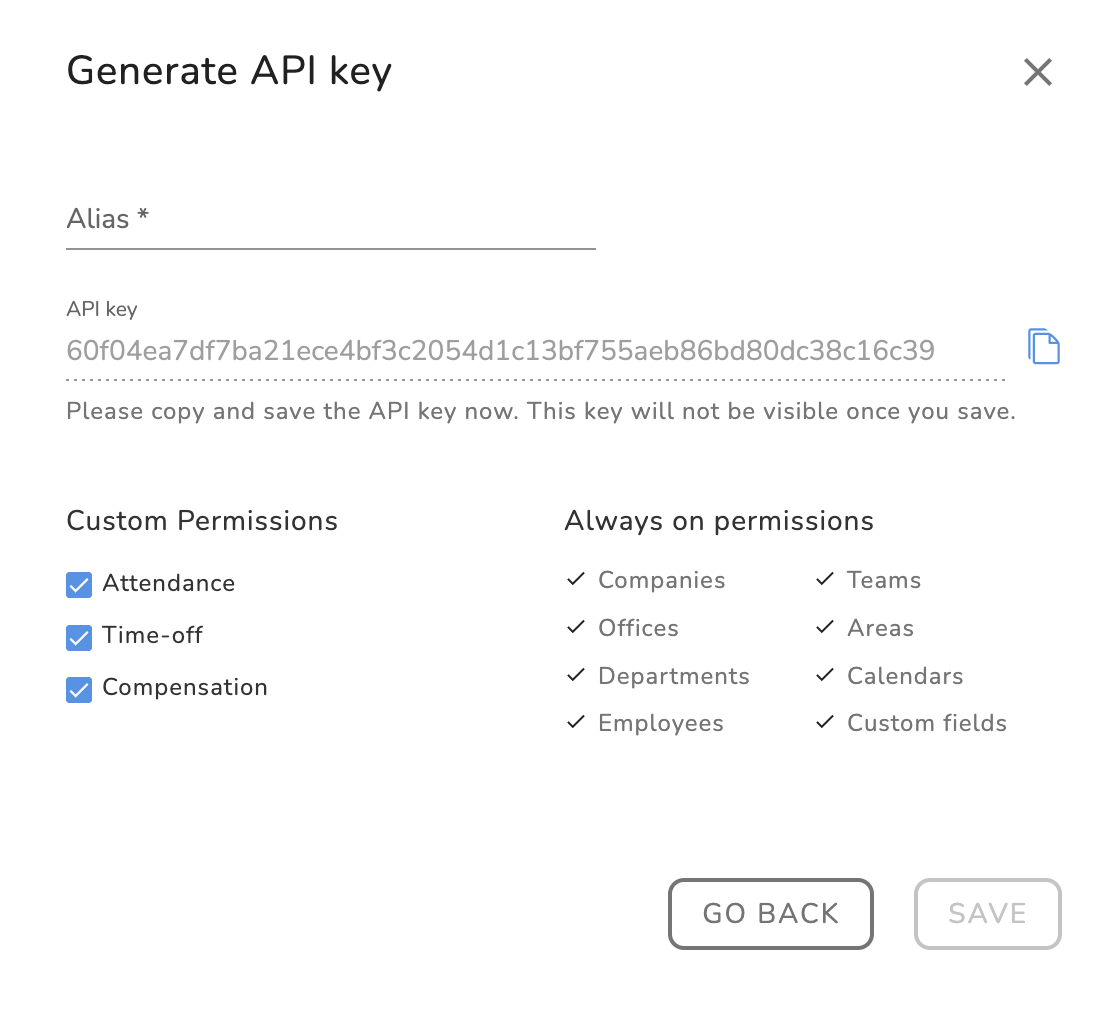
- Alias: It is a mandatory field and must be unique to differentiate between API keys. This alias helps identify the purpose or owner of the key.
- Copy the generated API Key immediately: When generating an API key, it's crucial to copy it immediately. There won't be another opportunity to copy it once generated. Failure to do so will require editing to generate a new API key.
- Default access to certain endpoints: By default, an API key grants access to a set of endpoints, such as employee or custom fields, which cannot be excluded. However, access to other collections, such as attendance, can be enabled or disabled as needed.
